
So much of our artistic endeavors focus on additions. More color, more layers, more more more. In the heat, less is so much more. So I've got some different ways to take away stuff for a cool effect.
First up - I went to my trusty tools from my Copic marker certification class. Color your image as you normally would, then take a little scrap of fabric with a prominent weave or texture design. Drizzle on a little blending solution, then QUICKLY set it onto the area you want to remove ink from, and lift. You don't need to press firmly - you just want a subtle texture. Let dry and observe. Here are the ones I did:

Next up, I have a project to share that uses 3 different removal techniques. I started with plain cardstock, 3 contrasting colors of acrylic paint, and a paper towel.
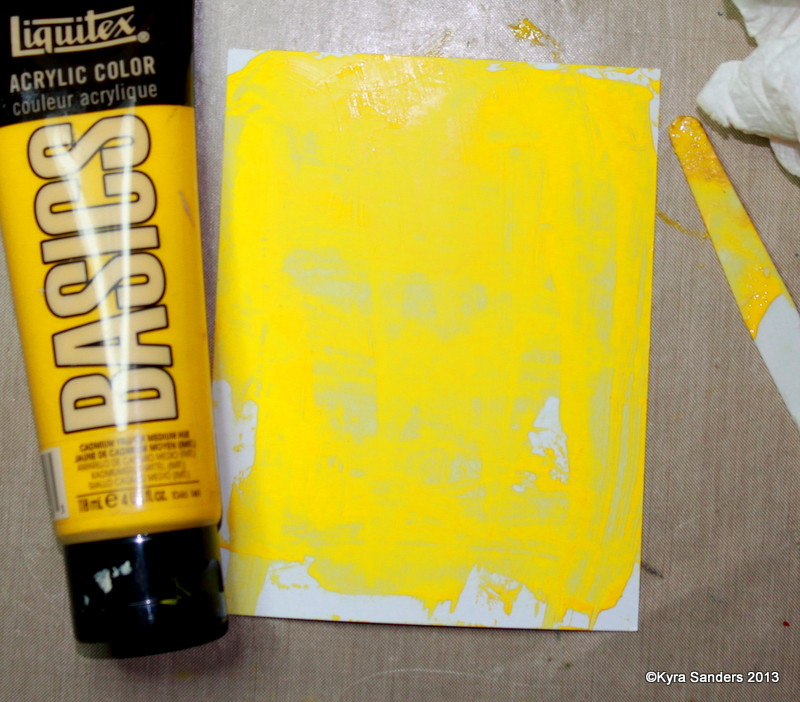
Slather on a layer of your brightest color (the one you want the least of showing through). Let it dry or use a heat tool. Add your next color.

Working quickly, roll your dry paper towel over the wet layer, lifting paint until you have the look you want.

Repeat again with whatever colors you like. I added unbleached titanium over mine to tone them down a bit.

Below is the final effect. I stamped over this and cut out the pieces for my card that I wanted.

Next up is a technique I call Ink Stripping. You can use dye ink (like Memento, Distress Ink, and many other store-brands) or acrylic paint. The image on the left is one stamp, the middle one is another. When you ink up the fine dot stamp, then press the uninked large dots onto it, you get large dots inked with little dots. You are using one stamp to strip ink from another. It's addicting!

Below is how this same technique works with acrylic paint - the image of large dots of stripped paint is on the left, the residual of the little dots with paint remaining is on the right. When you reach the end of this post, the 3 large star cutouts use this technique.

Next, I used bleach on a stamp to remove colors from the cardstock. I start with a pad of folded paper towel saturated with bleach.

Yeah, I didn't get the other stamp in the picture - I used one with 3 little stars, and the larger star shown here. Normally, I won't put clear polymer stamps in caustic conditions, but I cleaned it as soon as I was done.

Now, here's the finished card. Hopefully you can pick out each of the 3 techniques, and this inspires you to focus on the negative for just a little while.

Thank you so much for visiting me today. As always, if you have questions, post them below. Join in the challenge on SCS where there will be many other projects and some discussion. It's free, and we'd love to meet you there!
Ta for now,
~ky
Thanks for the fabulous tutorial!
ReplyDeleteSome great tips and techniques here ...TFS!
ReplyDeleteGorgeous! Thanks so much for the fun tutorial!!!
ReplyDeleteThanks for these fabulous ideas!
ReplyDeleteGreat ideas!
ReplyDelete