Thursday, September 5, 2013

Getting All Negative

Howdy! Things have been hectic here and HOT! I was so glad I got some time in the ArtLab to play even though the air conditioner is fighting 100 degree heat. Thankfully, we'll see some changes late next week. My challenge over at Splitcoast Stampers (SCS, ya know?) is to spend a little time being negative.

So much of our artistic endeavors focus on additions. More color, more layers, more more more. In the heat, less is so much more. So I've got some different ways to take away stuff for a cool effect.

First up - I went to my trusty tools from my Copic marker certification class. Color your image as you normally would, then take a little scrap of fabric with a prominent weave or texture design. Drizzle on a little blending solution, then QUICKLY set it onto the area you want to remove ink from, and lift. You don't need to press firmly - you just want a subtle texture. Let dry and observe. Here are the ones I did:


Next up, I have a project to share that uses 3 different removal techniques. I started with plain cardstock, 3 contrasting colors of acrylic paint, and a paper towel.
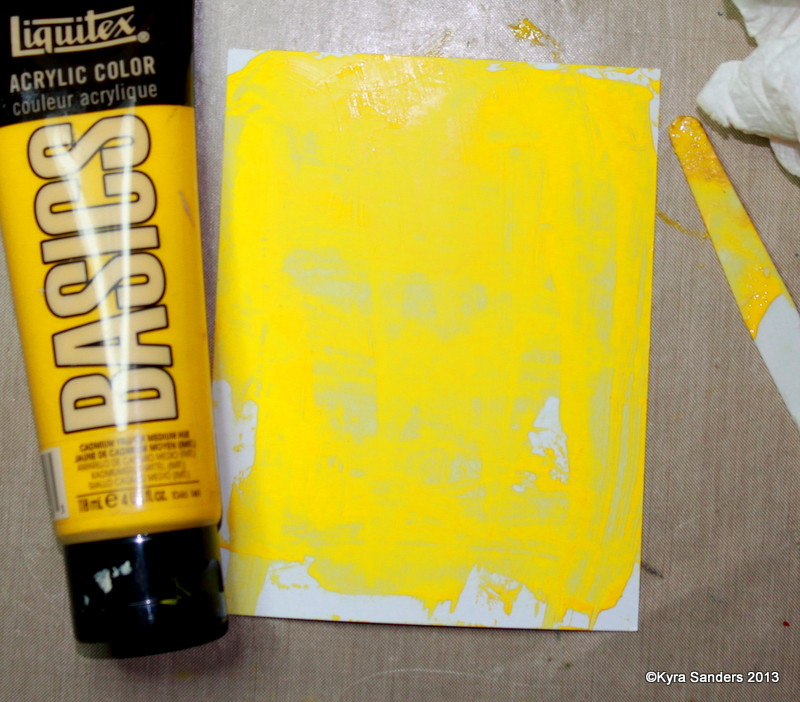

Slather on a layer of your brightest color (the one you want the least of showing through). Let it dry or use a heat tool. Add your next color.


 Working quickly, roll your dry paper towel over the wet layer, lifting paint until you have the look you want.


Repeat again with whatever colors you like. I added unbleached titanium over mine to tone them down a bit.


Below is the final effect. I stamped over this and cut out the pieces for my card that I wanted.


Next up is a technique I call Ink Stripping. You can use dye ink (like Memento, Distress Ink, and many other store-brands) or acrylic paint. The image on the left is one stamp, the middle one is another. When you ink up the fine dot stamp, then press the uninked large dots onto it, you get large dots inked with little dots. You are using one stamp to strip ink from another. It's addicting!


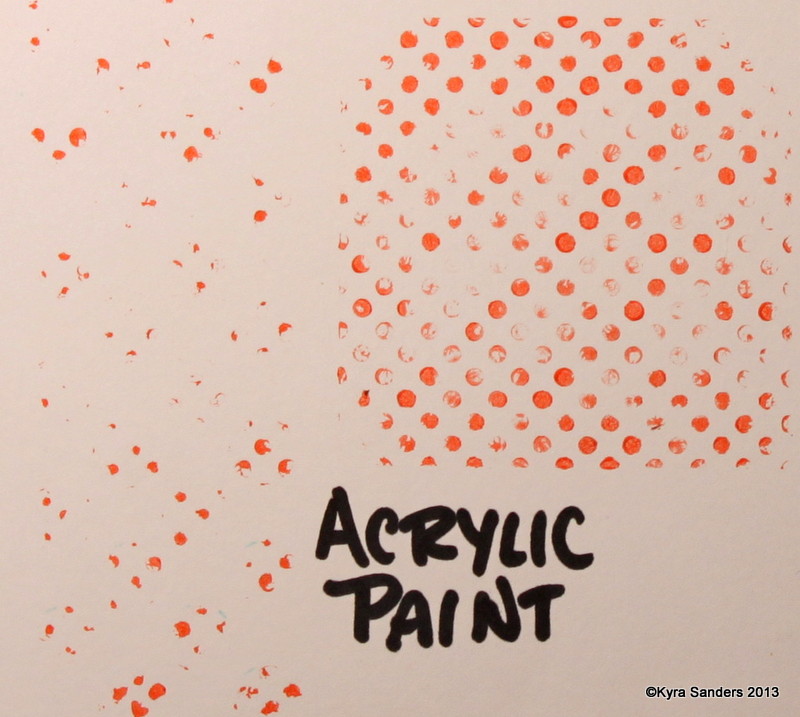
Below is how this same technique works with acrylic paint - the image of large dots of stripped paint is on the left, the residual of the little dots with paint remaining is on the right. When you reach the end of this post, the 3 large star cutouts use this technique.

Next, I used bleach on a stamp to remove colors from the cardstock. I start with a pad of folded paper towel saturated with bleach.


Yeah, I didn't get the other stamp in the picture - I used one with 3 little stars, and the larger star shown here. Normally, I won't put clear polymer stamps in caustic conditions, but I cleaned it as soon as I was done.


Now, here's the finished card. Hopefully you can pick out each of the 3 techniques, and this inspires you to focus on the negative for just a little while.


Thank you so much for visiting me today. As always, if you have questions, post them below. Join in the challenge on SCS where there will be many other projects and some discussion. It's free, and we'd love to meet you there!

Ta for now,

~ky

Friday, August 30, 2013

Go on - Be a DRIP

Hello! Today's mixed media challenge on Splitcoast Stampers (SCS) is to cake on any color medium and add water to make it drip and run. I started with the cast-off from a die I cut in ivory cardstock, added thick acrylic paint (Golden's fluid acrylics) with water to make it run down the cardstock. I cut the cast-off down to ATC size (2.5 inches by 3.5 inches).


I lined the cast-off with paper from My Mind's Eye Lost and Found Breeze so the sentiment would show. I punched a border from Bazzill cardstock for the top. The bottom is a composite of twine, MME patterned paper (same paper stack), metallic sequins (WalMart, custom colored with Adirondack alcohol inks), and Paper Studio rhinestones.


I hope you'll be inspired to create a little something before you get into full swing of celebrating the last of the summer days leading to autumn. Thanks for visiting!

Ta for now,
~ky

Friday, August 23, 2013

Fabric Flags

Hello! Today begins a new week of Mix-Ability challenges on Splitcoast Stampers. We are encouraging people to play with their products in a way that mixes media beyond what the central focus is for cards in general. Any form of project is welcomed in these challenges, so get out your art journal and play along!

This week's challenge is by Birgit, who lays down the gauntlet of using fabric in your design. I just love playing with fabric, so I'm confident I'll play this challenge more than once! Here's what I created:


What pirate doesn't need flags? The image is Amora by Terra Bidlespacher, and the sentiment is from one of Tim Holtz through Stampers Anonymous. I love it - "Imagination is more important than knowledge for while knowledge defines all we currently know and understand, imagination leads us to all we might yet discover and create." I think that is so true!

I hope you get a chance to play along. It's free, and you can upload your project to the gallery to see what everyone thinks about your work. It's a very kind and encouraging collection of crafters, so don't be afraid.

I hope to get more regular at posting to this blog. I have a lot of things to share with you. Thanks for visiting, and I would love to hear from you.

Ta for now,
~ky

Paper: 7 Gypsies and Gina K Designs
Ink: Distress inks (water activated), Copic markers, Memento dye ink.
Stamps: Terra Bidlespacher (Amora), Tim Holtz via Stampers Anonymous (Mini Ornate, Air Travel)
Fabric: Creative Imaginations, misc bakers twine.

Friday, August 16, 2013

Brutal Busy

No, it's not that it's summer and close to school. I'm working on a lot of things, and it's been hard keeping up with everything I want when everything I must do requires more of my time. You deal with it too, right?

Here's a little project I was able to squeeze in because it was fast, and because it has such awesome results. It doesn't require special equipment or a lot of supplies. All you need are some Distress Ink pads, a flat circle of plastic or cardstock, a drop or 2 of a reinker, a stamp you love (or 2), some water, a straw and maybe a white gel pen.


This is an ATC that I created using the above list of supplies. I sometimes use a can of compressed air to move the reinker around. Here's my process:


So there you have it. If you have any questions, feel free to post them in the comments. Thanks so much for visiting!

Ta!
~ky