Showing posts with label Copic Multiliner. Show all posts

Monday, March 24, 2014

Slow Down and Enjoy the Colors

Click any image and you can scroll through them.
Well, have you? Slowed down? I'm trying to. We are finally getting into a rhythm here, and it's nice. So I'm trying to remind myself that some things can wait a few extra minutes or even a day. I want to focus on 'feeling' each minute instead of rushing through.


Part of getting back into a routine involves singing with my choir, and being refreshed by my church each week. There's lots of negative in the world, but we manage to set that aside when we come together. It's important to always put positive back into the world if you hope to get any back.


I want to remember to do it NOW. There's no time like the present, right? But we still put things off until one day we're standing with our hat in our hands waving goodbye to something or someone we should have held closer.


For me, ultimately, it's all about TRUST - trusting God, knowing my worrying won't change anything, but prayer can. Often, it really means I just have to LET GO of some things. That's so hard, even though it sounds simple.


I made this page in my art journal for the SplitcoastStampers mix-abilities challenge to use text in your mixed media piece. It's the outer layer on each kite. I also used the prompt from The Documented Life to incorporate something you've recycled. The centerpiece for the kites is cut from my table protector layer of butcher paper. The list of products is down below.

Thanks for stopping by today. I hope I've inspired you to pull out your toys and play. Come share what you do on SCS - we'd love a chance to share with you!

Ta for now,
~ky

Process and products: Canson 98 lb 7x10 inch mixed media paper, sprayed with water, then Dylusions sprays (After Midnight, London Blue, Melted Chocolate over wet paper, and through Crafter's Workshop stencil). Edged using modeling paste colored with Dylusions sprays, pressed through Dylusions stencils, outlined with Pitt and Copic Multiliner markers, highlighted with Copic Opaque White), clear, colored and holographic sequins are topped with rhinestones and seed beads, and there's a bit of drywall tape, Tim Holtz washi tape, and snippets of words from Rhona Farreh digital bundle. There's random blobs of gesso, too, and a Plaid Fleur de Lis stencil. I think I used every color of Dylusions sprays that she makes up to this date. I see there are new colors coming very soon! Any questions about products? Please feel free to ask!

Friday, February 28, 2014

Fall or Fly

Hello lovely people! It's that time of the week again when we unveil a new challenge for mixed media over at Splitcoast Stampers! This time it's inspiration-driven. This week, Dina is asking us to be inspired by Kintsukuroi. What is that? I'm glad you asked!

Kintsukuroi or Kintsugi is a method of repairing pottery 

that is done by filling the cracks with a sticky resin,
then covering the resin with gold or silver dust.
This week, use this Japanese art form as an inspiration.


Here is the lovely example:


I really love that - more beautiful for having been broken. Isn't that a summation of our lives? We strive to grow, we make mistakes, we get knocked down, beat up, embarrassed, but God is there to fill the cracks and put those pieces back together. He mends us in His way, and we are MORE BEAUTIFUL!


Here I've represented the golden mending on a heart that has been broken, but manages to be mended and ready to take a chance on relationships, again. I've used texture paste, Dylusions sprays and stencil, Tim Holtz Winged Heart die, crepe paper, recycled bits from other gelli-plate printing, acrylic paint, gesso, Creative Memories alphabet stickers, Copic markers, Bic white-out, Copic markers, and 8B graphite pencil. Whew!

I made my heart out of mulberry paper, tore it up, then glued it back down. I filled the cracks with gold embossing paste, then stitched over that with gold embroidery thread. It really looks more rugged, and I love that!

I had a blast making this page for my art journal, and I hope you get a chance to play along. It's really fun, and you can make anything using this prompt - card, scrapbook page, art journal, even 3D items. Share your work with us!

Ta for now,

~ky

Thursday, January 30, 2014

Growth and Challenges

Hey there! It's time again for another Mix-Ability challenge over on Splitcoast, and I'm hosting this week! Here's a close-up detail:


This week we are all about the LAYERS! I love layers, almost as much as I love bacon!


I started with a little paint, and scraps of paper and bits of collage left over from previous projects. Then I added texture paste through stencils to get some texture. I colored the texture paste with Dylusions spray - using a small paintbrush to apply it just to the areas I wanted to accent.

I added bits of washi tape, some gold modeling cream, a little more bits of acrylic paint, some rubbed on with my finger, some put through a stencil. I added a photo of myself, and taped the edges with washi, added more texture paste over the edges to embed the photo into the background, added 2 word stickers. I die cut the letters and the banners (Tim Holtz - Sizzix), glued them down and accented them with my graphite pencil.

Once I was happy with it, I went around the edges with Distress Stains, added more shading with graphite, and some white accents. I used a gel Souffle pen (Sakura) for the white, but you can use a liquid paper corrector pen, too. Once I get it all done, I coat everything with Mod Podge to seal it all up.

This is a project in progress photo for another page I did not long ago.


You can see the raw texture paste through stencil in the corners, bits of paper, paint, stamped images and book text. I follow the same process, generally, just putting things on the page until I'm pleased with the effect.

And this is the final photo of that same project:


Can you pick out the details? The thing that pulls it all together, for me, is the shading. Don't forget to go around the edges of your pages - that really frames the page!

Here's another in-progress picture:


And this is where I'm at with that page. Not done yet! I still have a lot more layering to do, and I need to get some more items to pull the whole thing together. I was working on this at the hospital today, and the social activities director saw it. She wants me to come teach and play with her patients in the rehabilitation unit.


I know these last 2 in particular look odd - I took the in-progress picture with my phone camera, and the final with my Canon SLR, so the color and detail quality aren't the same. I think you can pick out bits and see where the layers have been added and changed as I went. It's very obvious how important shading is between these last 2 photos.

In case you can't read it, it says, "One day this pain will make sense to you." Caring for an elderly parent with ICU psychosis is very painful indeed, and I need to remind myself that while I'm going through a dark place right now, God can see beyond it. I just have to trust Him, and know that the sun will shine again.

I really wanted to give you a video, but my Dad had surgery and there have been complications, so I've been at the hospital all day every day. So, let me be in your debt and 'owe' you a video, ok? I love to share! Is there a product or technique you really would like to see me demonstrate? Leave a comment below!

Thanks so very much for stopping by, and play along! I want to see what you do with my challenge!

Ta!
~ky

Thursday, August 23, 2012

I'm Back in Black (and white)

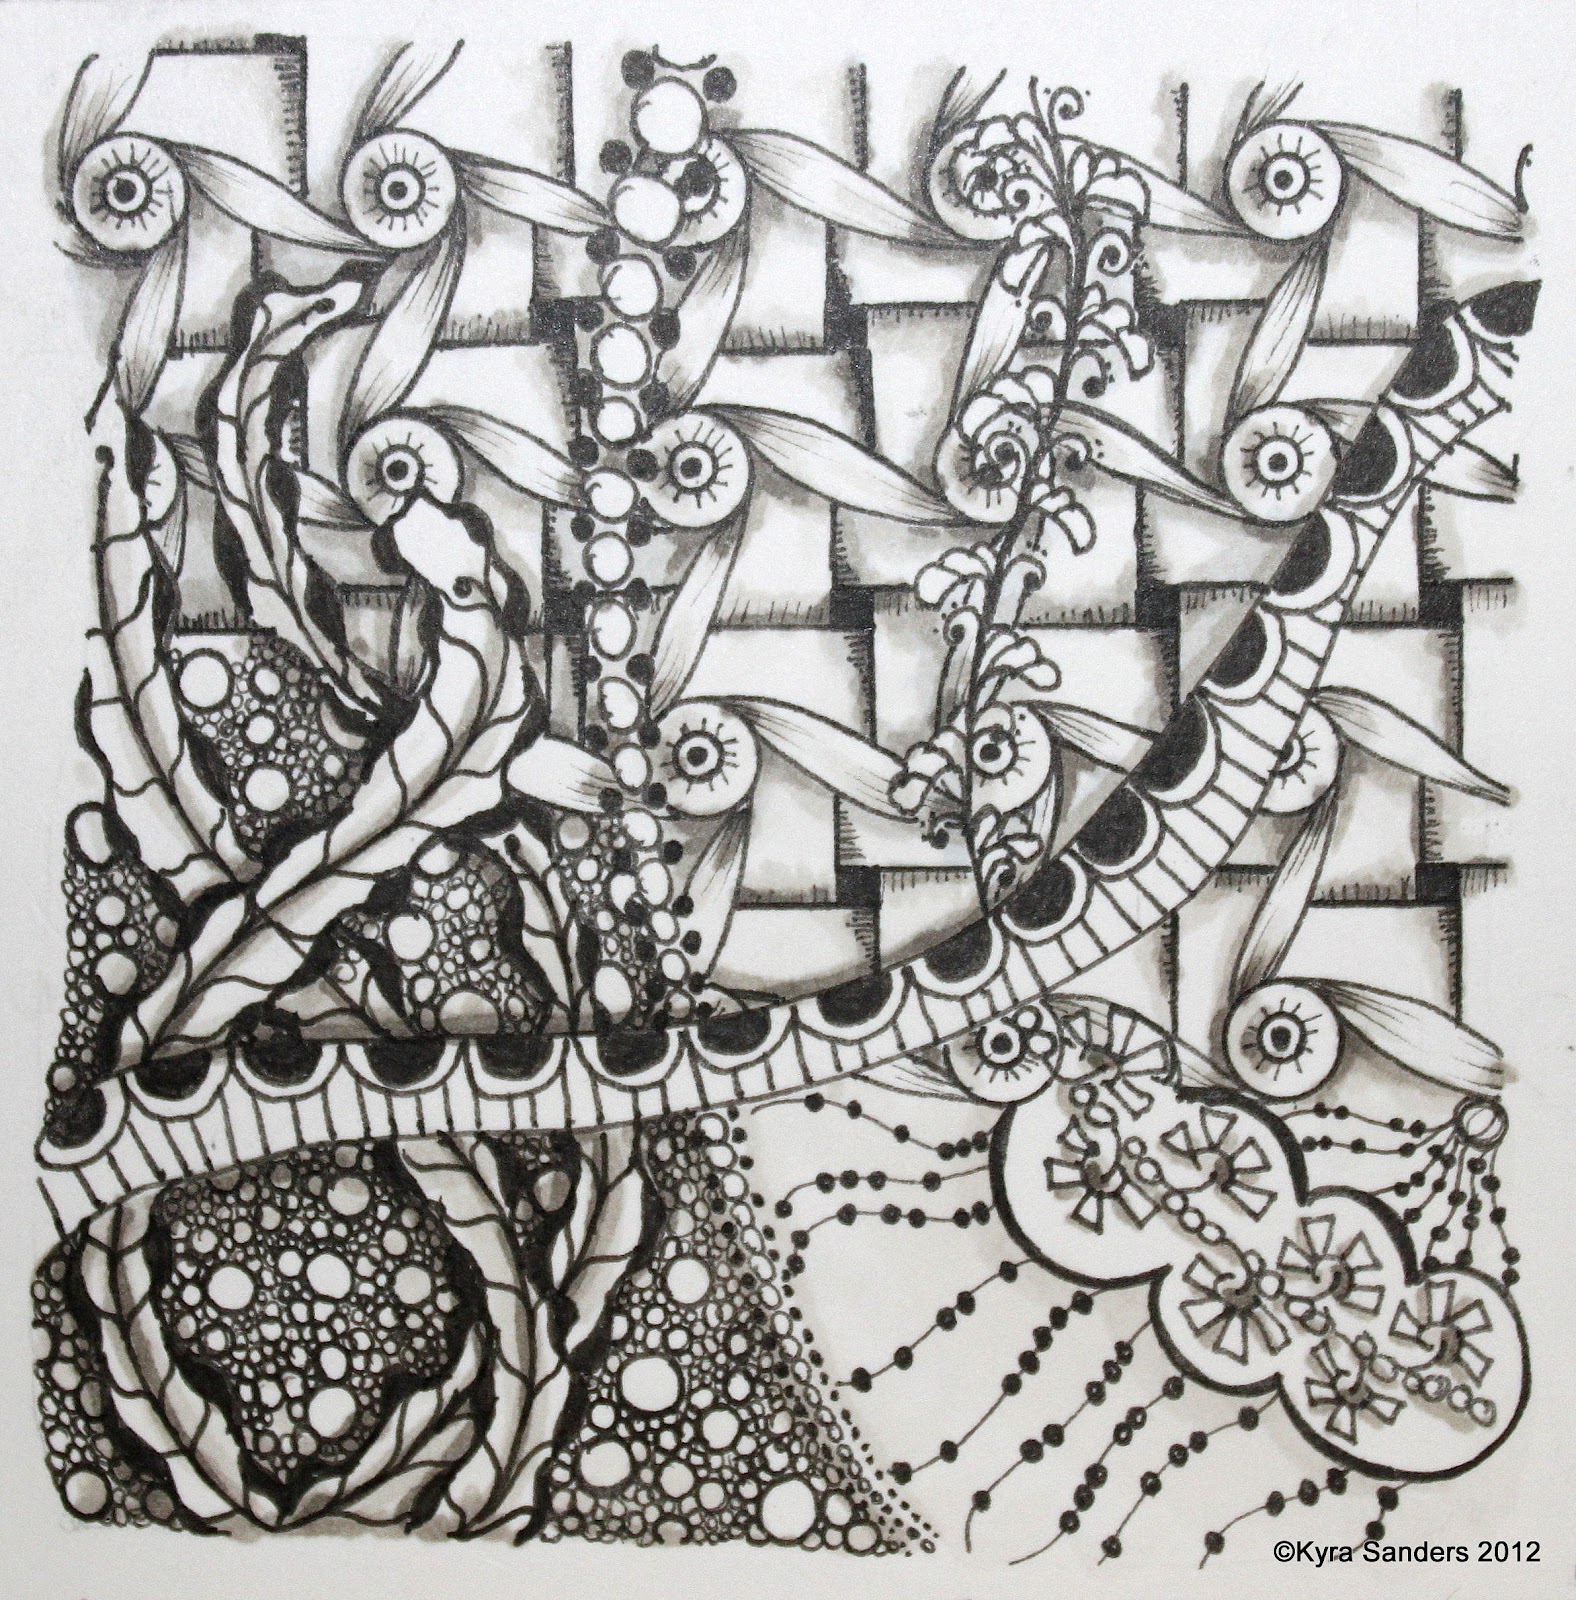
I've been busy. Really I have. I've been working on the studio, and working on projects with limited supplies. A pen, some paper, a couple of Copic markers:


Tangle Patterns has been providing starting strings for us to use to doodle. All the patterns I used have been credited to their designer on my Twitter feed. I love doing this because it frees my mind to dream up new ideas.


Yep, a busy bee. See you soon!

~ky

Sunday, June 10, 2012

Zen Living

I've been enjoying a lot of zen time with my doodles in my old mixed-media journal. The journal was last year's calendar and note space for doctors visits and other obligations. I've gone through and picked pages that didn't get much notation, erased the notes that were no longer necessary, and turned them into tangling space.

I'm really liking Linda's new string challenges over at Tangle Patterns. You should play along - you just start with her string, and fill it in with your favorite tangles. It's a blast!


I filled this one with the fantastic K-Ning pattern by Sandra Strait. She is a wonderful source of ideas so check her out on Flickr, and her Blog. As usual, this is a 3.5 inch square tile on mixed media paper with my Copic multiliner pens and Copic markers for shadowing.

Treasure Dragon pattern ©Kyra Sanders 
I have used this pattern many times, but I haven't documented it until now. I love the motion it gives to any project, and how varied you can make the 'fill' or treasure the dragon leaves contain. If you use it, let me see!

Daisy Chain pattern ©Kyra Sanders
Another tangle I created is the daisy chain. It reminds me of summers when I would sit and pick asters and daisies and patiently split each stem to weave together a chain. If you use this, link me up - I want to see how you adapt it for your work.

So this is what I've been up to lately. I have some other things I'm working on for you to see soon. I hope you have a beautiful day. Thanks for stopping by!

~ky